Smart Classroom Design: 7 Elements That Actually Work
Good smart classroom design starts with the child in the back row, not with the panel on the front wall. Get four things right; screen size matched to viewing distance, glare-free lighting, even sound and power that reaches where the technology sits and an ordinary classroom works well; get them wrong and a ₹1.5 lakh display becomes a very expensive whiteboard.
This is a design guide, not a shopping list. If you want the equipment inventory, that is covered in our smart classroom equipment checklist and the money side is in our setup cost breakdown. What follows is how to arrange a room so the equipment earns its keep.
1. Size the display from the back row, not the budget
This is the single most useful rule in classroom AV, and almost nobody applies it before buying. The AVIXA display-sizing approach works backwards from the farthest seat:
Standard instruction: distance to the farthest student ÷ 6 = the minimum usable screen height
Detailed content (formulas, spreadsheets, code, small text): divide by 4 instead
Passive viewing (video, images only): divide by 8
Translated into panels for a typical Indian classroom:
Rough sizing by room
65-inch: small rooms and coaching batches, farthest viewer roughly 6–12 ft away
75-inch: the standard classroom of 30–40 students, back row around 5–6 m
86-inch: large sections, tiered rooms and halls where the back row is beyond roughly 20 ft
If your back-row student has to squint at a Class 10 chemistry equation, the panel is undersized and no amount of resolution fixes it. Our interactive flat panel size guide goes deeper on the 65 vs 75 vs 86 decision.
2. Plan the light before you plan the screen
Most classroom display complaints in Indian schools are lighting complaints wearing a costume. The standard failures are a window on the same wall as the panel, tube lights firing directly at the screen, and afternoon sun landing on the glass from 1 pm onward.
Position the display perpendicular to windows, never facing them or directly beside them
Use diffused or shielded fixtures rather than bare overhead tubes above the display zone; IES guidance for classrooms sits around 30–50 foot-candles with CRI 80+
Add blinds or window film on the light-side wall, the cheapest fix on this entire page
Specify an anti-glare panel if the room genuinely cannot be re-oriented
Keep a light switch that isolates the front zone so a teacher can dim the front of the room without darkening the whole class
Field test before you commit: stand at the back-corner seat at 2 pm on a bright day and look at the wall where the panel will go. If you can see the reflection of a window or a tube light on that wall, you have a design problem, solve it with orientation and blinds, not with a brighter panel.
3. Mount at the right height, then stop adjusting
The screen should be visible from the back row without students tilting their heads sharply upward, and reachable by the teacher for touch input. Those two demands pull in opposite directions, which is why mounting height is a compromise rather than a formula.
Lower is usually better than higher in a flat-floor classroom, high mounting causes neck strain and puts the screen straight into overhead-light glare
Use a tilt-capable mount where the panel has to sit higher than ideal; a small downward tilt improves back-row viewing and kills ceiling reflections
Consider a mobile stand for rooms that get reconfigured, or where one panel is shared across sections
Check wall construction first; a 75-inch panel plus mount is a serious load, and hollow partition walls need backing plates
4. Treat sound as a design element, not an accessory
Schools consistently underspend here. A panel's built-in speakers face the wall behind them or fire forward at modest power, which is adequate for a quiet 30-student room and inadequate for almost everything else, a fan-heavy classroom, a road-facing wall, a 45-student section.
Check the room's noise floor first: ceiling fans, traffic, corridor noise and the class next door
Add a simple amplified speaker pair where the room is long, wide or noisy even distribution matters more than volume
Soften hard surfaces: curtains, pinboards, a rear soft board and even wall-mounted student work reduce echo in tiled, concrete rooms
Give the teacher a wireless mic in large sections; it protects voices and improves comprehension at the back
5. Power, network and cables: the invisible half of the design
This is where retrofits go wrong. Every trailing extension board in an Indian classroom is a design decision someone skipped, and it is both a safety hazard and the reason equipment gets unplugged and never plugged back in.
Power
A dedicated switched socket behind the panel, not a shared board across the room
A small UPS per room so a power cut doesn't end a lesson mid-flow and doesn't hard-cut the panel
Proper earthing, non-negotiable and frequently absent in older buildings
Network
Wired LAN to the panel where possible; Wi-Fi is the fallback, not the plan
An access point per classroom cluster, not one router for a floor
Sanity check the basics: UDISE+ 2024–25 data puts school internet connectivity at roughly 63.5% and computer availability at roughly 64.7% nationally, so for many schools the honest first investment is connectivity, not display hardware
Cables
Conceal in casing or conduit from the panel to the teacher station
Leave one accessible HDMI and USB-C at the teacher's position for laptop input
Label everythin the difference between a five-minute and a five-day fault
6. Lay out the room in zones, and keep sightlines clear
Straight rows facing forward waste the interactive capability you paid for. A workable Indian classroom compromise, given fixed furniture budgets:
Instruction zone: clear front area where the teacher can stand beside the panel without blocking it, leave at least a meter of working space
Core seating: keep the first row far enough back that students aren't looking up at 45 degrees; a gap of roughly 2m is a good starting point
Collaboration zone: even two clusters of movable desks at the rear change how group work happens
Storage: a lockable cabinet or charging trolley for tablets, remotes, mics and adapters loose accessories disappear within a term
Sightlines are the test. Sit in every corner seat. If any student's view of the panel is blocked by a pillar, an almirah, a fan or another student's head, the layout is wrong regardless of how good the equipment is.
7. Design for the teacher, or none of it gets used
The best-designed room in the school fails if the teacher has to hunt for a remote, log into three systems and find an adapter before starting. Adoption is a design outcome:
One-touch start: panel on, source correct, ready in under 30 seconds
A fixed home for the remote, stylus and mic, a wall holder beside the panel, not a drawer
Consistency across rooms: same panel, same layout, same source arrangement in every classroom, so a teacher moving between sections isn't relearning the room
Written one-page instructions taped near the panel, unglamorous, and it works
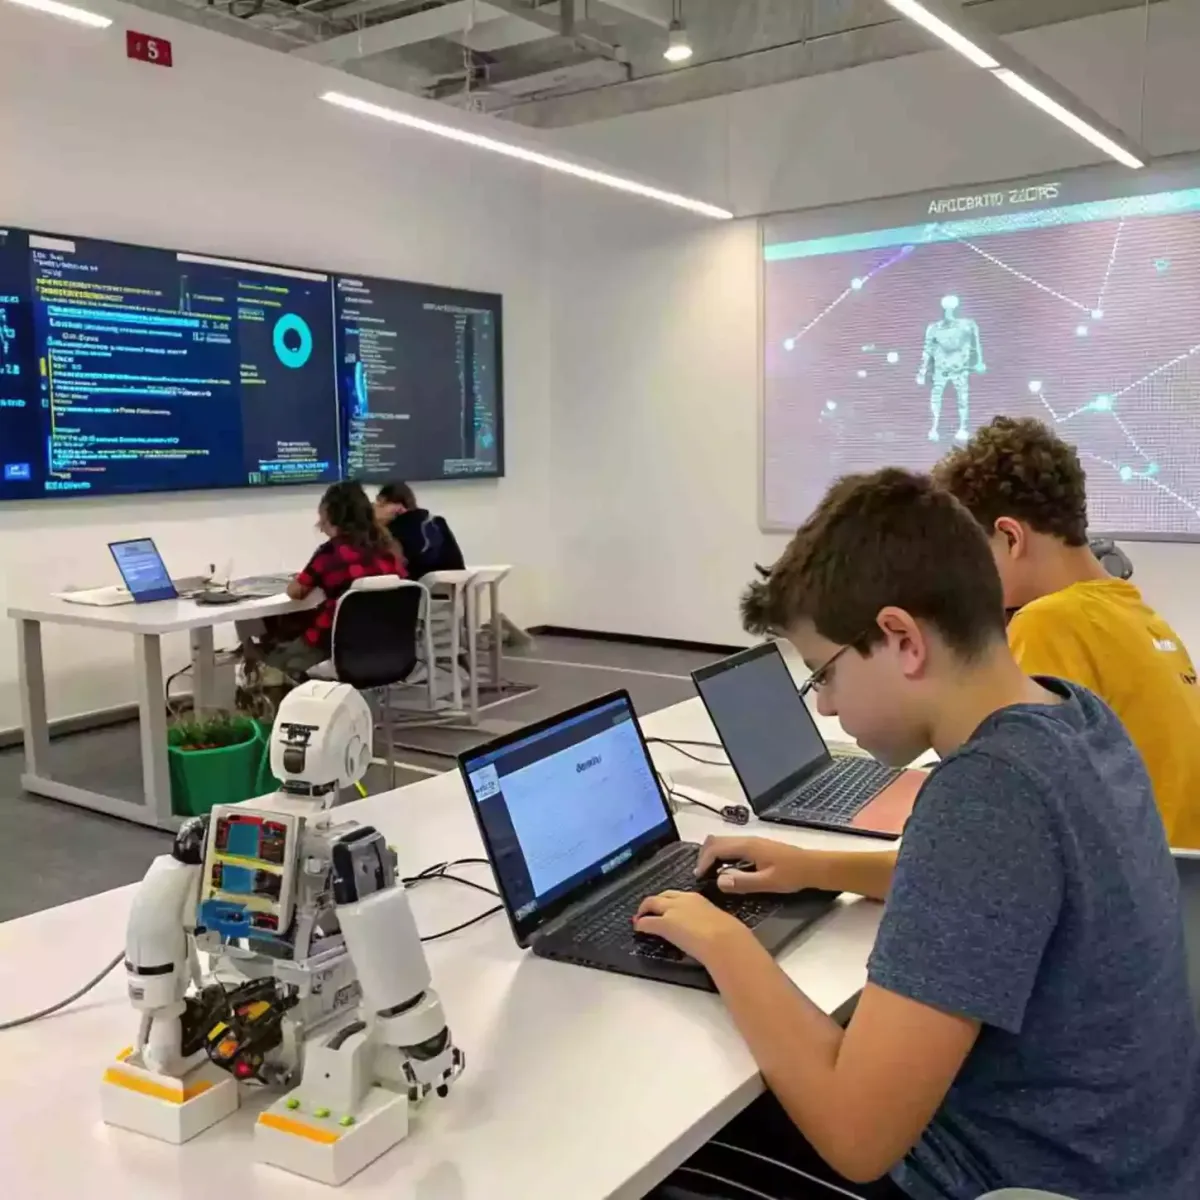
Note that lab spaces follow a genuinely different design logic, workbenches, tool access, power at bench level and safety clearances rather than front-of-room sightlines. If you are planning a STEM or robotics space rather than a teaching classroom, see Grobots' STEM lab solutions.
Common design mistakes worth designing out
Buying the panel before measuring the room; the size decision should follow the back-row distance
Mounting on the window wall because that is where the old blackboard was
Ignoring acoustics in tiled, high-ceilinged rooms and then blaming the speakers
One design for every room when a 25-student section and a 50-student hall need different answers
No storage plan, which quietly costs a school a stylus and two remotes per term
Skipping teacher training, the cheapest line item and the one that decides whether any of this is used in March
Frequently asked questions
What is the ideal size of a smart classroom?
There is no fixed ideal, because size follows student count and display choice rather than the other way round. A practical test is the viewing-distance rule: measure from the panel to the farthest seat and divide by six to get the minimum screen height needed for standard teaching. A typical 30–40 student Indian classroom with a back row 5–6 meters away is well served by a 75-inch panel, while rooms where the back row exceeds roughly 20 feet need 86 inches.
Where should an interactive flat panel be mounted in a classroom?
On the wall perpendicular to the windows rather than facing or beside them, low enough that back-row students are not looking sharply upward, and at a height where the teacher can comfortably reach the touch surface. Leave about a meter of clear standing space beside the panel and roughly two meters before the first row of seats. Verify the wall can carry the load, and use a tilting mount if the panel must sit higher than ideal.
How much does a smart classroom cost to set up in India?
Interactive flat panels start from around ₹90,000 plus GST for entry-level classroom units, with 65-inch and 75-inch models commonly landing in the ₹1.2–1.5 lakh range depending on specification and brand. Add a room UPS at roughly ₹5,500, plus mounting, electrical work, network and any audio. Our detailed component-wise breakdown of a full smart classroom budget is available in the smart classroom setup cost guide.
Do smart classrooms need special furniture?
Not necessarily, but fixed heavy desks limit what you can do. Movable or modular desks let a room shift between direct instruction and group work, which is where interactive displays add the most value. At minimum, add a lockable storage cabinet or charging trolley for devices and accessories, and choose rust-resistant frames and laminated tops for Indian classroom conditions. Ergonomic desk and chair height matters more than any smart feature.
What is the difference between smart classroom design and just installing a smart board?
Installing a board is a purchase; designing a classroom is deciding how light, sound, sightlines, power, seating and teacher workflow work together around that board. A panel mounted opposite a window in an echoing room with a trailing extension cable will be used for a month and abandoned. The same panel in a room designed around the back-row student will be used every period, which is the only measure of value that matters.
How do you make sure teachers actually use a smart classroom?
Design for a 30-second start-up, keep every classroom configured identically so teachers moving between sections do not relearn the room, give the remote, stylus and mic a permanent physical home, and invest in short hands-on training tied to their own subject content rather than a generic product demo. Adoption is far more a function of friction than of features, and friction is a design choice.
Planning smart classrooms for your school?
AVM Infotech has been fitting out Indian classrooms with displays, audio and network infrastructure for decades. Share your room dimensions and student counts and we will tell you what panel size, mounting and audio each room actually needs, before you buy.
Display-sizing guidance follows AVIXA viewing-distance practice; lighting figures follow IES classroom recommendations. Connectivity figures are from UDISE+ 2024–25, published by the Ministry of Education. Prices are indicative and vary by specification, brand and quantity.

